
Knife Making Workshop in Hanoi
A Knife Making Workshop in Hanoi had been on my to-do list for a while, but I only got to it his year. Afterwards I wondered why I hadn’t done it earlier. Making a knife was a lot of fun! Espeically since the weather was cold (-ish. It was cold for Hanoi in May) and rainy, so it was a perfect activity to do inside, near a fire. I will definitely come back one day and do the workshop again to make another knife.
This post contains affiliate links to things like tours and hotels. These help me earn a small commission at no additional charge to you. Every affiliate link is marked with a *.
Overview of the Knife Making Workshop in Hanoi
Location
The Knife Making Workshop in Hanoi takes place in Da Sy Village, a prestigious forging village with a long standing history. Today it has long become part of Hanoi, but its crafting spirit remains. During the wars of the past Da Sy was a main supplier of weapons for the Vietnamese military, but when peace finally returned to the land they shifted production to agricultural tools, machinery parts and kitchen utensils.
Mrs. Sinh’s family has been in the blacksmithing business for generations and together with Beyond Backstreet they created this workshop to bring traditional forging to travellers in an immersive way. It took them a few years to perfect it, since forging and mastering techniques takes time. Today everyone can learn basic technics of handmade forging and make a knife of their choice in just thirteen steps (give or take).
Knife Making Workshop Hanoi
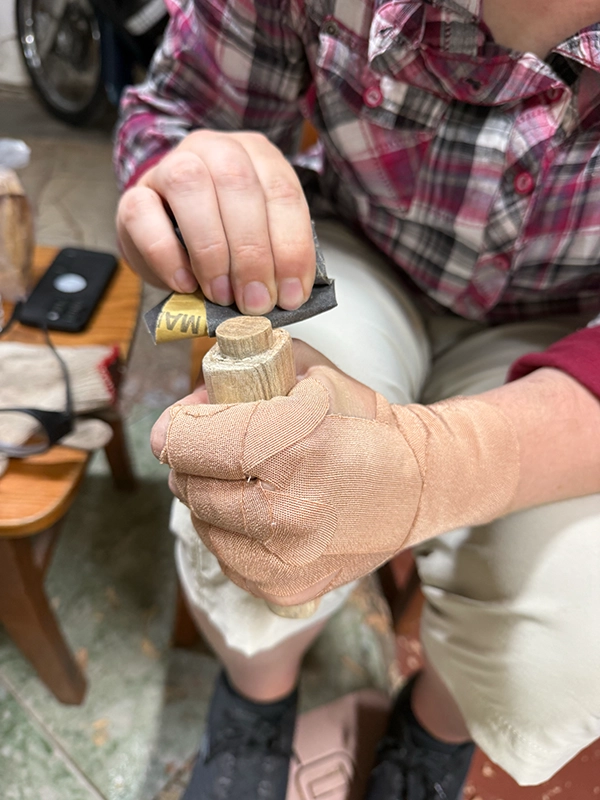
These are the steps to make a knife you’ll do in the workshop. Some take more strength than others, some are more complicated than others. However I have been told that the ones I found more complicated others found easy and vice versa 😀 Ignore the tape around my hand, it has nothing to do with the knife making workshop, I injured my hand the day before (and still managed to make the knife!).
Step 1: Choosing which shape the knife should have
I went for a cleaver-like kitchen knife, since those are my favourite kind of knives to use during cooking.
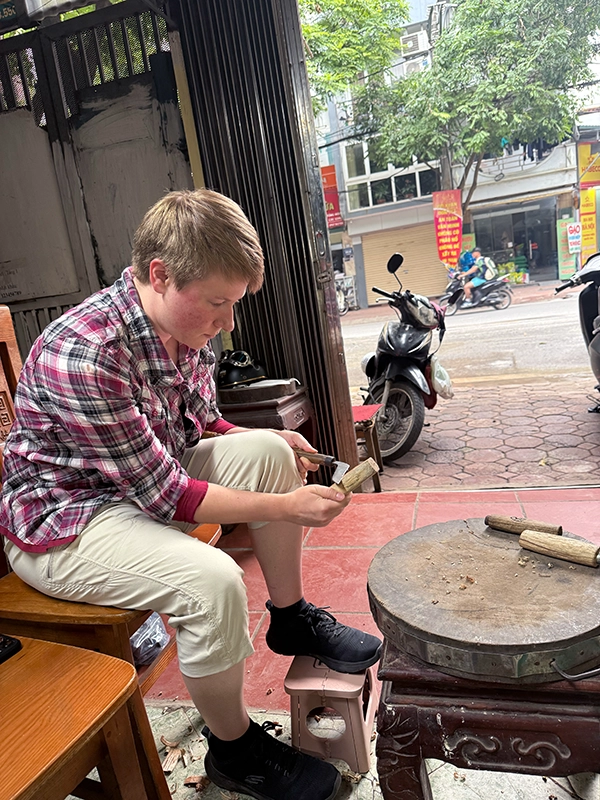
Step 2: Whittling the knife handle
Whittling is the “process of repeatedly shaving slivers from a piece of wood1“. With it you are shaping the knife handle. The knife you get for this process has a long handle, using the leverage to make it easier.
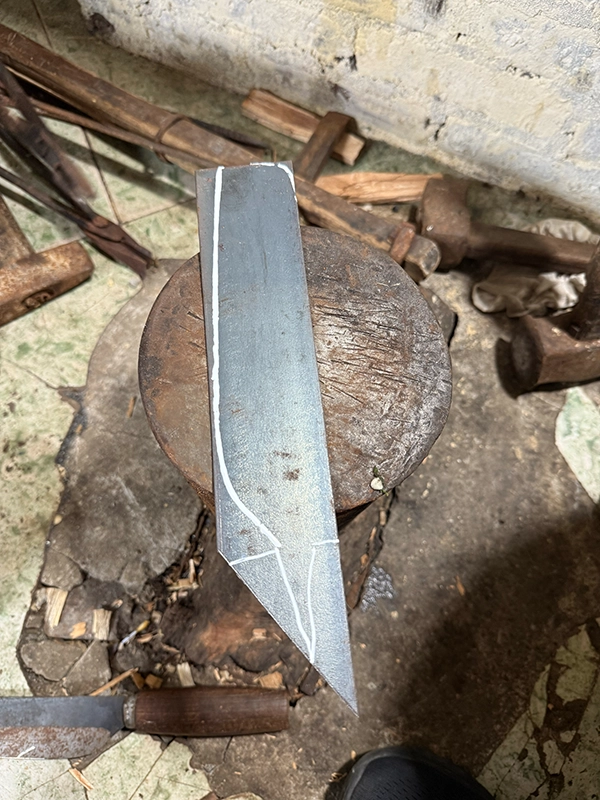
Step 3: Drawing the knife shape onto the metal
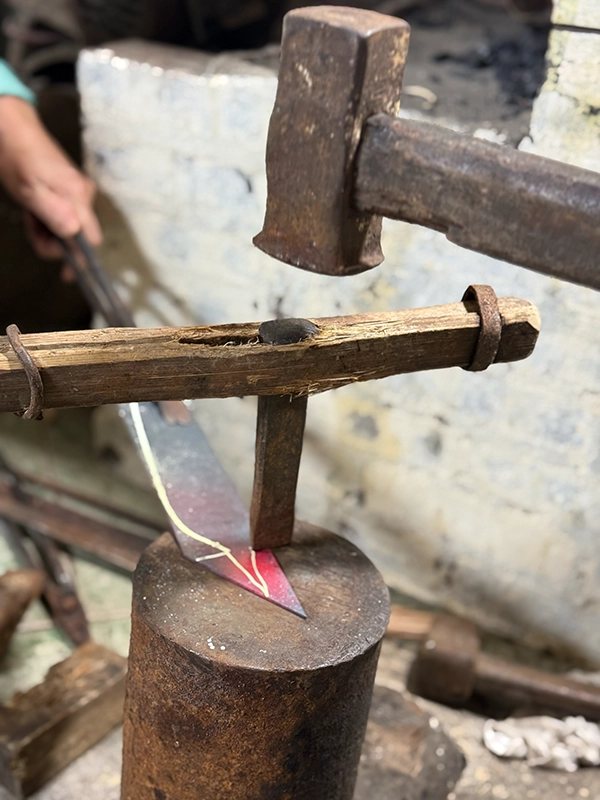
Step 4: Cutting the metal after heating it
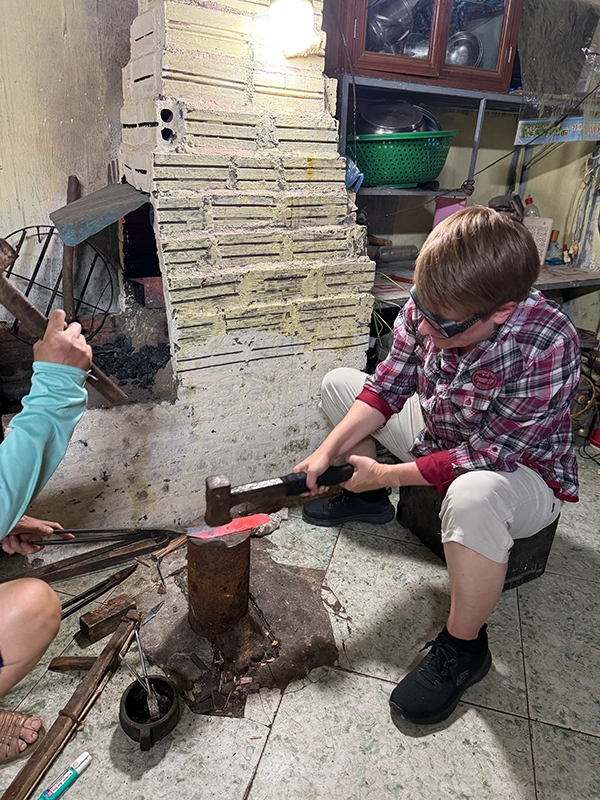
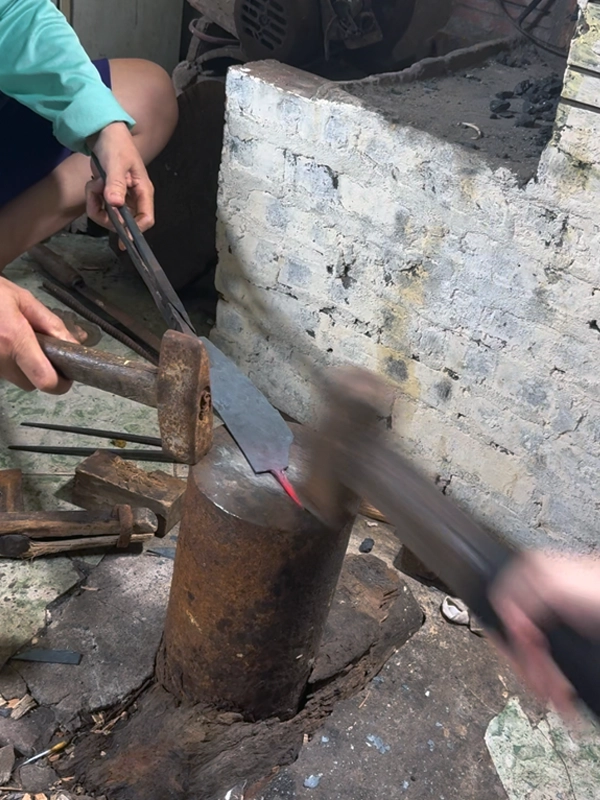
To be able to cut the metal you need to heat it up until it becomes soft. Then one person holds a sharp metal wedge in the correct position while the other hammers it with a heavy two-handed metal hammer to thin out the metal. Once it is thin enough it can be broken off.
Step 5: Flattening the metal
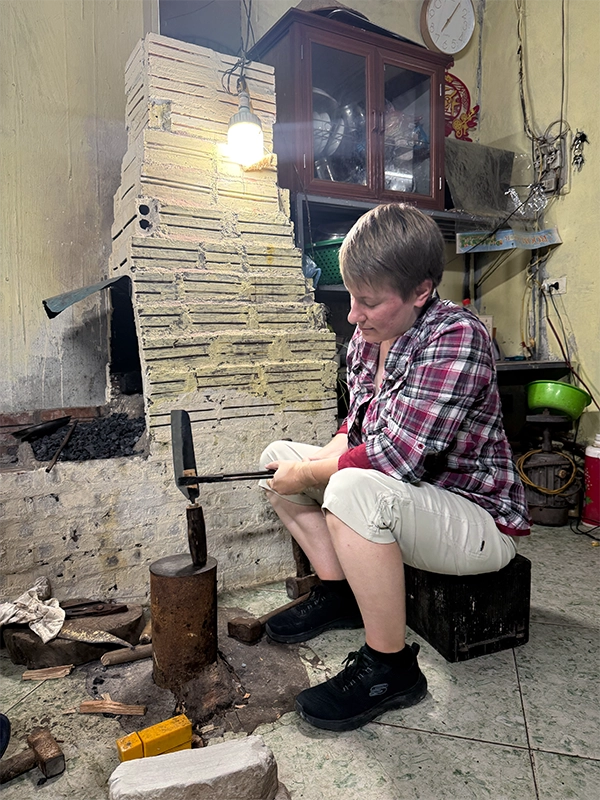
To make a proper knife the side where the blade is going to be has to be thinner than the other side. For this the entire knife is heated in fire until it glows, then it is hammered until it reaches the desired thinness.
Step 6: Shaping the end into a sharp tip that goes into the handle
Once it had reached an acceptable shape Mai took me to the side to tell more more about the villages and the families history while snacking on apples and baked dough. Mrs. Sinh kept hammering it to make it even sharper.
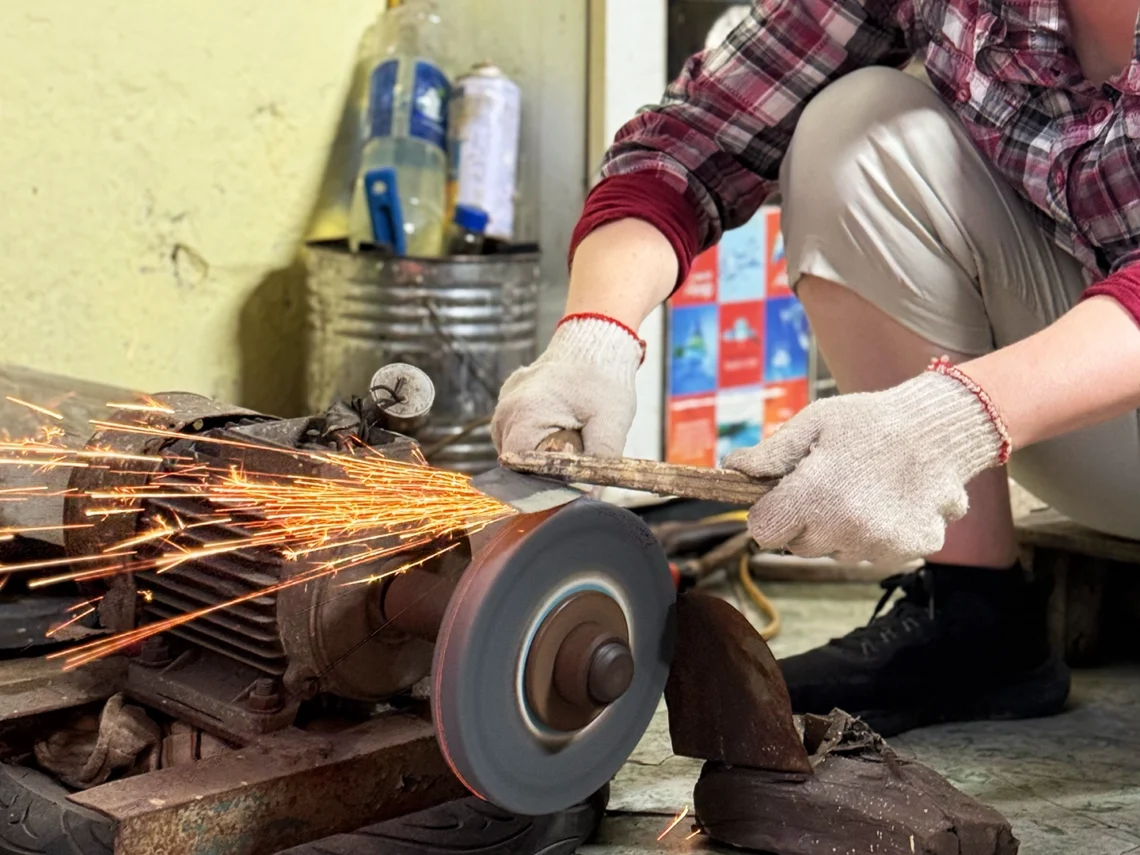
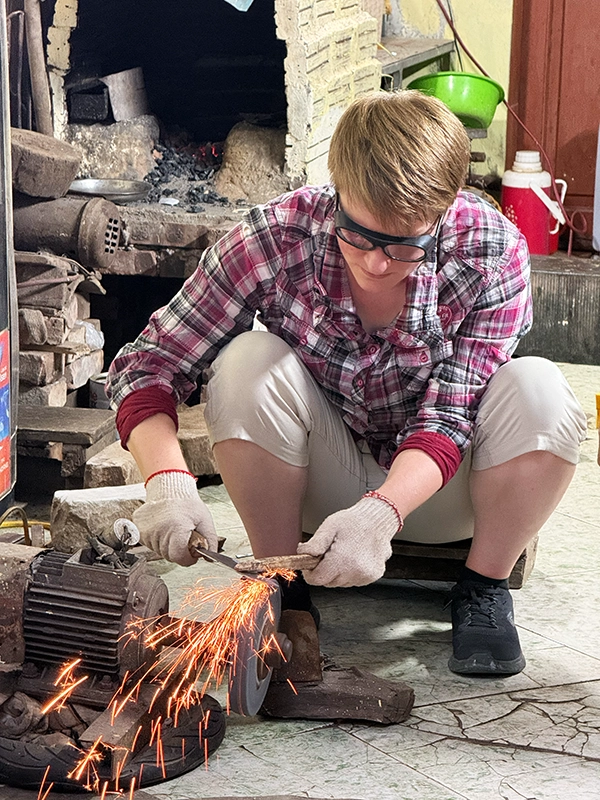
Step 7: Sharpening the knife on a motorized grinder
Afterwards I had to sharpen the blade of my knife on a motorized grinder. That’s the part where sparks fly! It is less hot than it looks and you wear heat-resistant gloves during it. This step took a long time as you have to sharpen both sides in small sections and test in between.
Secret Step
At this point Mrs. Sinh applies her families secret liquid on the blade to harden it. Every family has their own recipe.
Step 8: Shaping the handle to fit metal reinforcement
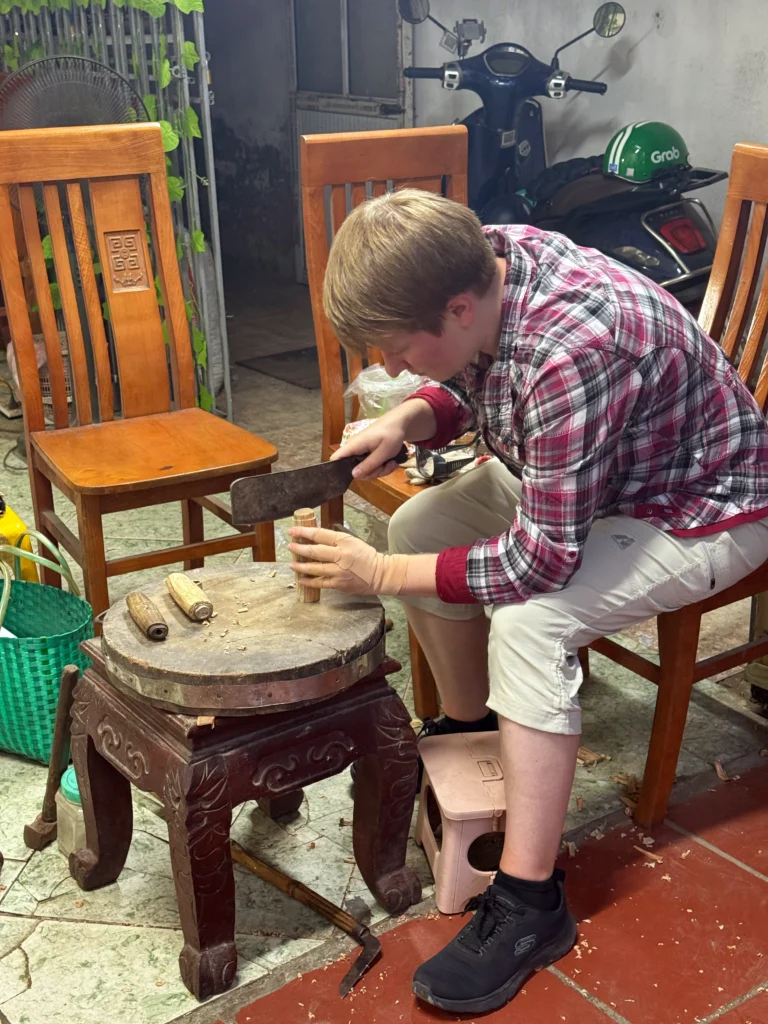
After the grinding it was time to shape the tip of the handle. A metal ring is wrapped around the wood to enforce it, but for that the wood needs to be trimmed enough to fit said ring.
Step 9: Sanding the handle
To make the handle nice and smooth it is sanded by hand with course sandpaper, then once more with a finer grit sandpaper
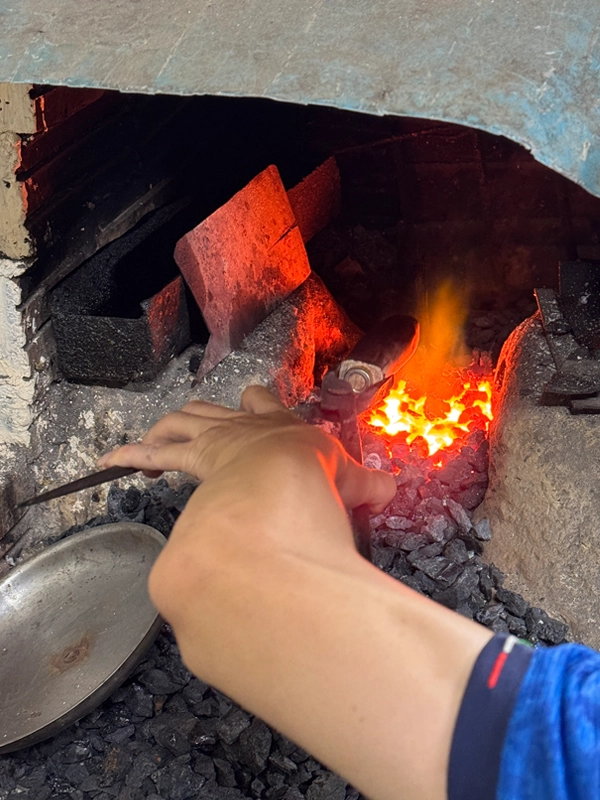
Step 10: Browning the wood of the handle in the fire
Once the handle is smooth to the touch you can choose to keep it as it is or to brown it in the fire. The fire burns the outer surface into a protective layer that blocks water, rot, and pests at the cost of making the wood itself slightly weaker as a whole.
Step 11: Fitting the knife into the handle
The sharp tip of the knife we shaped earlier is then hammered into the reinforced handle. For this the knife is held by the blade with metal tongs and slammed down on a wooden block repeatedly
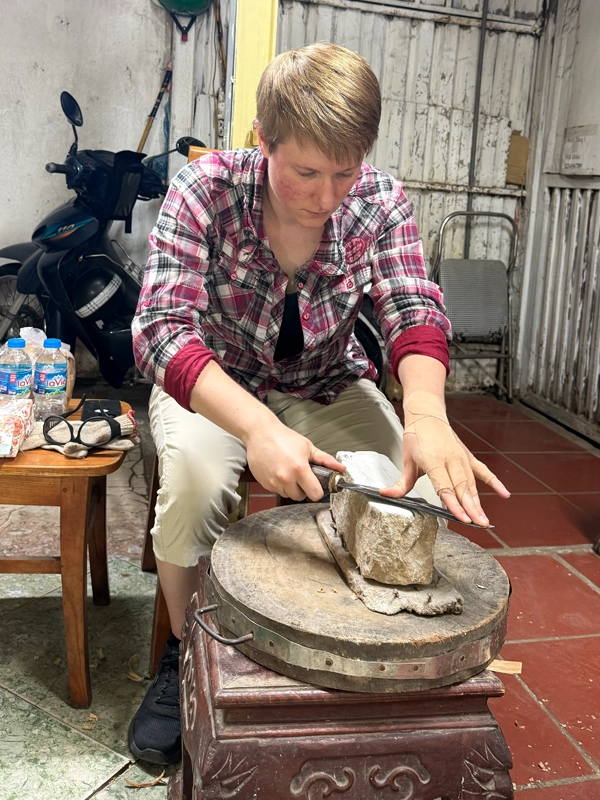
Step 12: Sharpening the knife on a limestone block
Once secure inside the handle the knife is sharpened one last time on a limestone block
Step 13: Trying out the finished knife
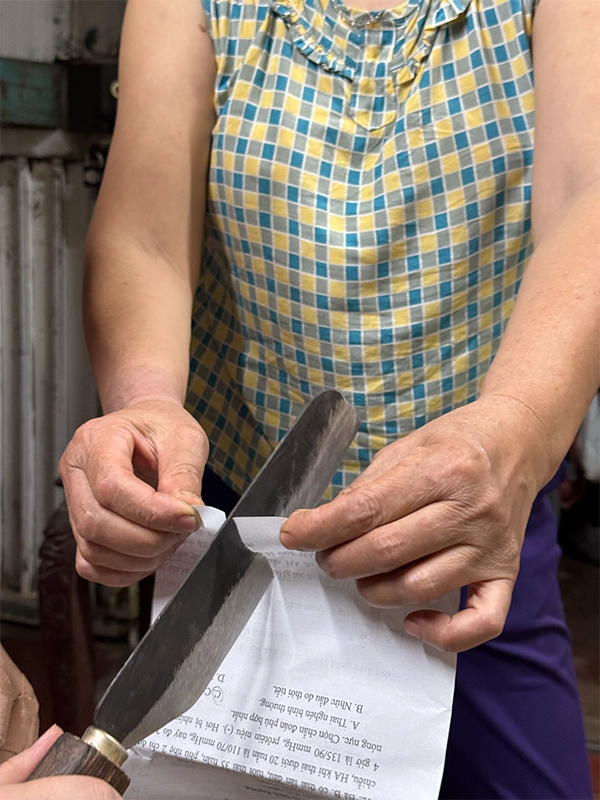
Finally it is time to test out the knife! It sliced through paper like butter, no pressure or sawing movement needed.
Where to book the original Knife Making Workshop in Hanoi
You can book through a form on their official website: www.hanoiknifemaking.com, or message them via WhatsApp or E-Mail, they have all their contact options listed there.
Since I know some people are weary of single business websites, they also have a listing on GetYourGuide*. This is the original. Many copycats have popped up since then, some are even using the same pictures, but they are not in any way affiliated with or connected to this company.


Related Posts
The hidden Hoi An most people don’t get to see

Hue – City of emperors. Food capital of Vietnam?